Printing is not just a technical process, but also an artistic one. If you intend to print your files on a large scale using a professional printing company, it is crucial to prepare adequately. The goal of this article is to guide you through the steps involved in transforming your digital files into print-ready files that are ready for production.
Contents
Understanding Print-Ready Files
Before we begin discussing the process of preparing a file for printing, it is important to understand the term “print-ready.” A print-ready file is a digital file that meets all the requirements necessary to produce high-quality prints. In other words, it is the final version of the file that is ready for immediate printing without requiring any further adjustments. A print-ready file includes specific dimensions, resolution, colour mode, and necessary bleeds and margins.
Read More: How to Prepare Your Design for Printing?
5 Steps to a Print-Ready File
When it comes to printing a design, there are several steps you need to take to ensure that the final product turns out well. These steps are important because they help eliminate any potential problems or complications that may arise during the printing process. By investing time in preparing your file properly, you can achieve a high-quality print that accurately reflects your original vision.
Here are five steps to follow to create a print-ready file:
Step 1: Start with the Right Format

The initial step in preparing your file for printing is selecting the appropriate file format. Two commonly used formats for printing are JPEG and PDF.
JPEG delivers high-quality images and is a widely popular format. However, ensure you save your files at the highest quality setting to maintain image detail.
On the other hand, PDFs are the most popular choice and are often preferred by professional printers due to their convenience. PDFs retain all the necessary information for printing, including fonts and images, and can be opened on any device without compromising the integrity of your design.
Now that you have chosen the format and are ready to print the file, there are still a few more considerations to keep in mind.
Read More: Graphic Design Trends 2024
Step 2: Use the Correct Colour Mode
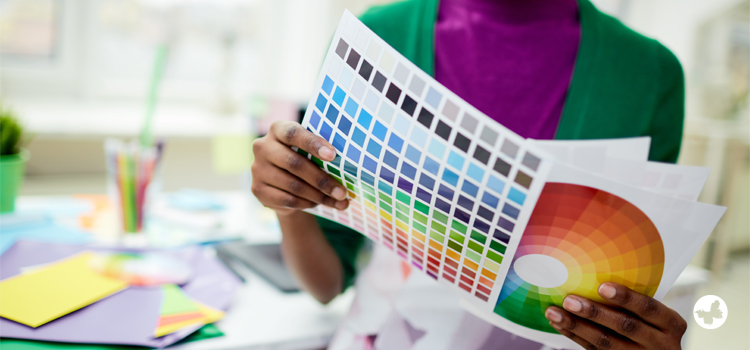
The colour scheme you choose for your printed materials significantly impacts their overall appearance. Most devices such as cameras, scanners, and computer monitors utilize the RGB (Red, Green, Blue) colour mode. However, professional printers typically work with the CMYK (Cyan, Magenta, Yellow, and Key-Black) colour mode.
Before proceeding with printing, it is essential to ensure that your file is in CMYK colour mode. If files are submitted in RGB, the colours may shift when converted to CMYK by the printer, resulting in the final product looking different from your original design. To avoid any colour discrepancies, it is advisable to verify the colour specifications with your printing company beforehand. In ButterflyGP’s case, we prefer CMYK.
Read More: How to Choose the Right Brand Colours?
Step 3: Setting Up the Right Dimensions and Resolution
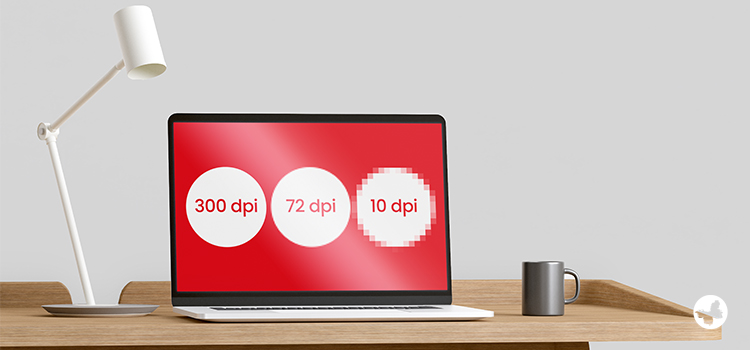
When dealing with large format images, it is crucial to have a high resolution to avoid producing a blurry print. Resolution refers to the density of dots (pixels) within an image. The higher the resolution, the greater the level of detail in the printed image. Measure resolution in DPI (Dots Per Inch) or PPI (Pixels Per Inch). For optimal print quality, a minimum resolution of 300 DPI is suitable.
Additionally, it is important to accurately set up the dimensions of your file. Correctly specifying the dimensions ensures that your design will print at the desired size and aspect ratio, fitting perfectly onto your chosen medium. This step is essential to avoid any distortion or cropping of your design during the printing process.
Step 4: Including Bleeds and Margins
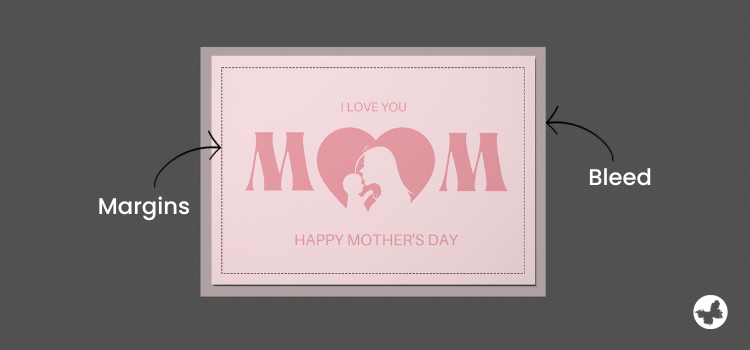
Bleed and margin are crucial components in print design that require special attention while preparing your file.
A bleed refers to the additional area that extends beyond the actual size of your design. The bleed area is trimmed off after printing to ensure that your design extends to the edge without leaving any white borders. Typically, a bleed of 0.125 inches is suitable on each side of your design.
Margins keep your text and important design elements away from the edge, preventing them from getting cut off after printing. A general guideline is to maintain a 0.25-inch safe margin from the edge of your design. This ensures your design elements stay within the printable area and avoid cropping during printing.
Step 5: Proofread and Review
The final step in preparing your file for printing may seem simple, but it is one of the most critical stages. It involves double-checking your document for any spelling or grammatical errors, pixelation, and colour accuracy. Once your file goes into printing, any changes made will result in additional expenses in both time and money.
One practical tip to ensure your design is print-ready is to print a sample on your home printer or view the file on multiple screens to check for colour consistency. Also, have a colleague or friend proofread for a fresh perspective to catch any missed errors.
Embed all fonts and images in your document, especially when sending PDF files. Embedding ensures correct display and prevents issues with missing fonts or images during printing.
Conclusion
In conclusion, thorough reviews and understanding key aspects simplify print file preparation. Remember, the time and effort you put into preparing your files ensure accuracy and quality in the final print. So, embrace the process and enjoy the satisfaction of seeing your design come to life in print. Happy Printing!